Retaining Wall Techniques Every Contractor Should Master This Spring
Spring is when retaining wall failures show themselves. Frost heave, trapped water, and poor base prep all come to light once the ground starts moving again. For landscaping contractors, this season is the best time to tighten up methods and build walls that stay straight, drain properly, and hold their line for years.
Most retaining wall problems aren’t caused by materials. They come from overlooked details. The following techniques focus on durability, drainage, and soil load control. These are the things that separate walls that survive one winter from walls that last decades.
Start With the Soil, Not the Stone
Before a single block or piece of armour stone is placed, the soil needs to be understood. Clay-heavy soils expand, sandy soils shift, and mixed fill behaves unpredictably. Assuming all soil acts the same is one of the fastest ways to build a future failure.
Always strip organic material completely. Even a thin layer left behind will compress over time. Once exposed, proof-roll the subgrade if possible. Soft spots must be removed and replaced with compacted aggregate. Skipping this step saves time today but costs callbacks later.
Depth matters too. The base should extend below frost depth in colder regions or at least be deep enough to resist seasonal movement. Shallow bases are one of the most common causes of leaning retaining walls.
Base Prep Is Where Walls Are Won or Lost
A retaining wall is only as strong as what it sits on. The base should be built with angular aggregate, not rounded stone. Angular material locks together and resists movement under load.
Compact in thin lifts. Thick layers might look solid on the surface, but leave voids underneath. Mechanical compaction is non-negotiable. Hand tamping is rarely enough for anything beyond garden-height walls.
The base should extend beyond the front and back of the wall. This helps distribute the load and reduces edge settling. Level the base carefully. Trying to correct mistakes with the first course is a losing battle.
Drainage Is Structural, Not Optional
Water is the enemy of every retaining wall. Hydrostatic pressure builds quietly and pushes hard. Many walls fail not because of weight, but because water has nowhere to go.
Drainage stone should run the full height of the wall, not just at the bottom. Clean aggregate creates voids that allow water to move freely. Filter fabric between native soil and drainage stone prevents fines from clogging the system.
Perforated drain pipe at the base should daylight whenever possible. If it can’t, connect it to a reliable outlet. Relying solely on stone in poorly drained soil is risky.
Weep holes can help on solid walls, but they’re not a replacement for proper backfill and pipe. Think of drainage as part of the structure, not an accessory.
Understand Soil Load and Wall Height Limits
Every retaining wall has a height limit based on material, design, and backfill. Ignoring those limits leads to bowing, cracking, or collapse.
As wall height increases, soil load increases exponentially. This is where stepped walls or terracing make sense. Breaking a tall wall into shorter sections reduces pressure and improves visual appeal.
Geogrid reinforcement should be considered for anything beyond basic heights. It ties the wall to the soil mass behind it, creating a unified structure rather than a freestanding barrier. Skipping reinforcement to save money often leads to expensive repairs later.
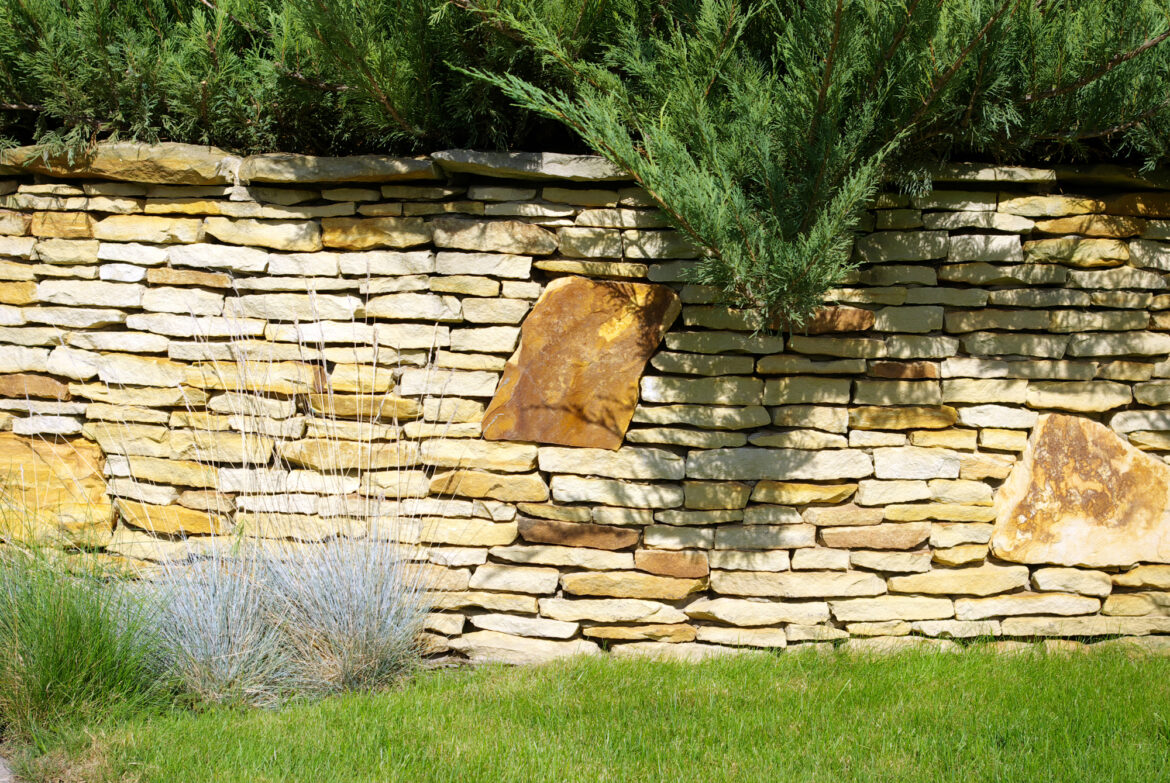
Armour Stone Requires Precision, Not Guesswork
Armour stone retaining walls offer strength and a natural look, but they demand experience and patience. Each stone must sit flat and bear weight evenly. Shimming with small chips is fine. Stacking on points is not.
Set stones back slightly as the wall rises. This naturally helps resist soil pressure. Random placement might look good initially, but inconsistent setbacks weaken the wall.
Behind armour stone, drainage is even more critical. Irregular shapes create pockets where soil and water can collect. Generous aggregate backfill and fabric are essential to keep water moving.
Machine placement should be slow and deliberate. Rushing stone placement often leads to future movement that could have been avoided with a few extra minutes of adjustment.
Finish Details Protect the Whole System
The top of the retaining wall is often overlooked. Capstones or large armour pieces help lock everything below into place. They also protect against water infiltration from above.
Surface drainage above the wall matters. Sloping soil away from the wall prevents runoff from entering the backfill directly. Downspouts, hardscape edges, and lawn grades should all be planned with the wall in mind.
Vegetation should be chosen carefully. Large roots can disrupt backfill and drainage over time. Smaller plantings with controlled root systems are safer choices near retaining walls.
Build for the Thaw, Not Just the Install Day
A retaining wall should be built to survive freeze-thaw cycles, heavy rain, and soil movement. That mindset changes how details are handled. Extra aggregate, better compaction, and proper drainage always outperform shortcuts.
Spring is the season when weak walls reveal themselves. Contractors who master these techniques reduce failures, protect their reputation, and deliver retaining walls that stand firm long after the final walkthrough.
Strong walls aren’t built by chance. They’re built by paying attention to the details that others skip.