How to Achieve Long-Lasting Paving with Proper Sand and Paving Stone Sealing Techniques
When you’re laying interlocking stone, every step matters. A good-looking patio or walkway is only as strong as what lies beneath it and how well it’s protected from above. If you want your paved surfaces to last, you need to pay attention to two key things: the quality of your sand base and the right paving stone sealer. Get these wrong, and you’ll be revisiting jobs faster than you’d like. Get them right, and you build a reputation for durable, professional work.
Start with a Solid Foundation
It all starts with the base. Compacted gravel is your first layer—typically 4 to 6 inches deep, depending on the load it needs to bear. But it’s the sand layer above it that often gets overlooked. Bedding sand plays a crucial role in locking interlocking stones in place. It creates a smooth, even surface that absorbs pressure and distributes weight.
Use clean, well-graded sand—ideally concrete sand. Avoid using fine or dusty sands, which can compact poorly and wash out over time. Screed the sand to a consistent depth of about 1 inch, and make sure it’s level. Any unevenness here translates directly to the surface.
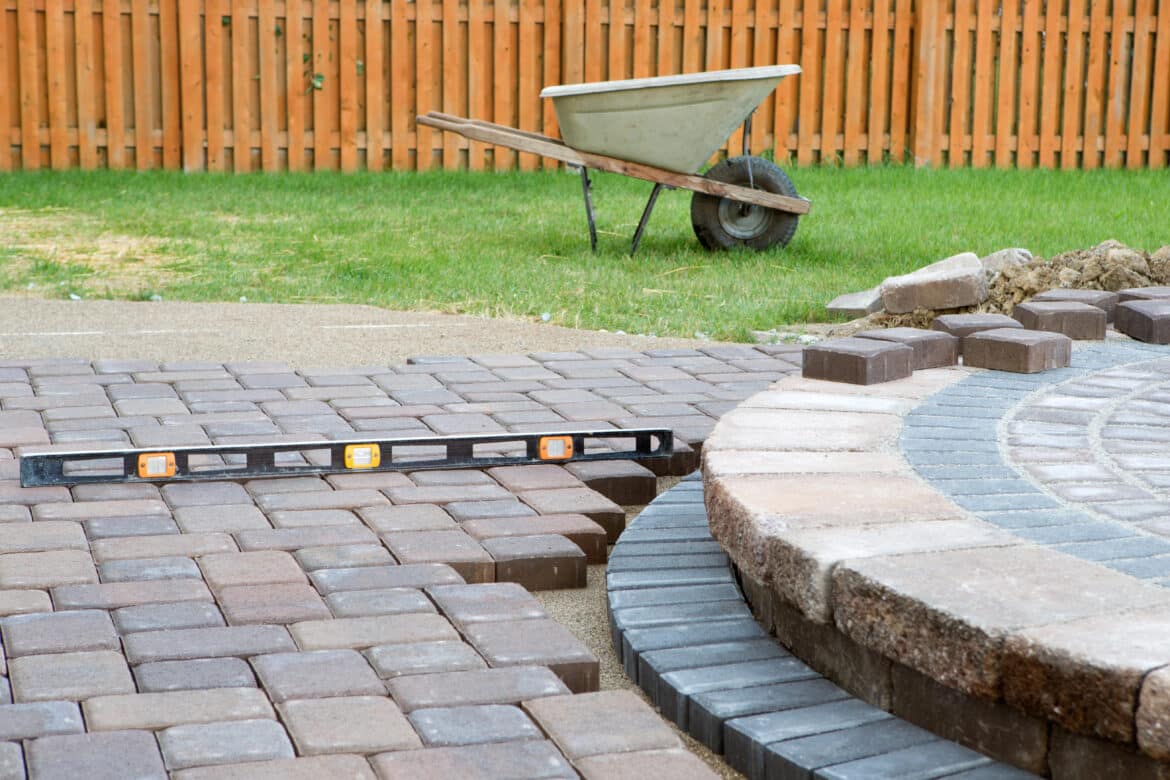
Lay the Interlocking Stone with Precision
When placing interlocking stones, precision matters. Gaps should be tight and consistent to prevent shifting. Use edge restraints to keep everything contained, and check alignment regularly. Once laid, compact the stones with a plate compactor to help them settle into the sand bed.
Joint Sand: Lock It All Together
After the stones are positioned and compacted, joint sand is swept into the spaces between the pavers. This sand helps lock the stones together and prevents weeds and insects from moving in. Polymeric sand is a great choice here. It hardens slightly when activated with water, reducing erosion and washout.
Make sure the sand is dry before sweeping it into the joints. After spreading, use the plate compactor again to help it settle fully. Then, sweep more sand in to top off any gaps.
Seal the Surface with the Right Paving Stone Sealer
A high-quality paving stone sealer does more than make stones look good. It protects against stains, resists UV damage, and keeps joint sand in place. For landscapers and contractors, sealing is the final step that adds value and durability.
Choose a sealer suited for the job. There are two main types:
- Film-forming sealers create a glossy finish and strong surface protection but can be slippery and may require more maintenance.
- Penetrating sealers soak into the stone, offering more natural-looking protection without altering the surface texture.
For high-traffic areas or clients who prefer a natural look, penetrating sealers are often the better choice.
Timing and Technique Matter
Wait at least 24-48 hours after installing the stone and sweeping in joint sand before applying a sealer. This gives everything time to settle and dry. Apply the sealer when the surface is clean and dry and temperatures are between 50-85°F. Humidity and direct sunlight can affect drying times, so plan accordingly.
Use a sprayer, roller, or squeegee to apply the sealer evenly. Don’t over-apply—too much sealer can trap moisture and cause hazing. Most jobs only need one or two thin coats, with time to dry between them.
Maintenance and Re-Sealing
A good sealer lasts two to three years, but foot traffic, weather, and exposure can wear it down faster. Educate your clients about maintenance—they should clean the surface regularly and reapply the sealer as needed to keep the paving looking its best.
Polymeric sand may also need topping off every few years, especially in areas with heavy rain or snow. Staying ahead of these issues helps avoid callbacks and keeps your work looking fresh.
Why It All Matters
When you’re building with interlocking stone, you’re not just laying a surface—you’re creating a system. Every part, from the sand base to the paving stone sealer, plays a role in how long it lasts and how well it performs. Cutting corners means problems down the road: shifting stones, weed growth, joint erosion, and client complaints.
But when you take the time to do it right, you get surfaces that hold up for years. That means happy clients, fewer repairs, and a solid reputation.
Final Thoughts
If you’re serious about quality landscaping, treat sand and sealing as critical steps, not afterthoughts. Use the right materials. Follow best practices. And don’t rush the process. The payoff is in the longevity of your work and the trust you build with your clients.
From compacted sand to a properly chosen paving stone sealer, every detail matters. Master those details, and your interlocking stone projects will speak for themselves long after the job is done.
Connect with FSI Landscape Supply for more details on sand, interlocking stone, and paving stone sealer.